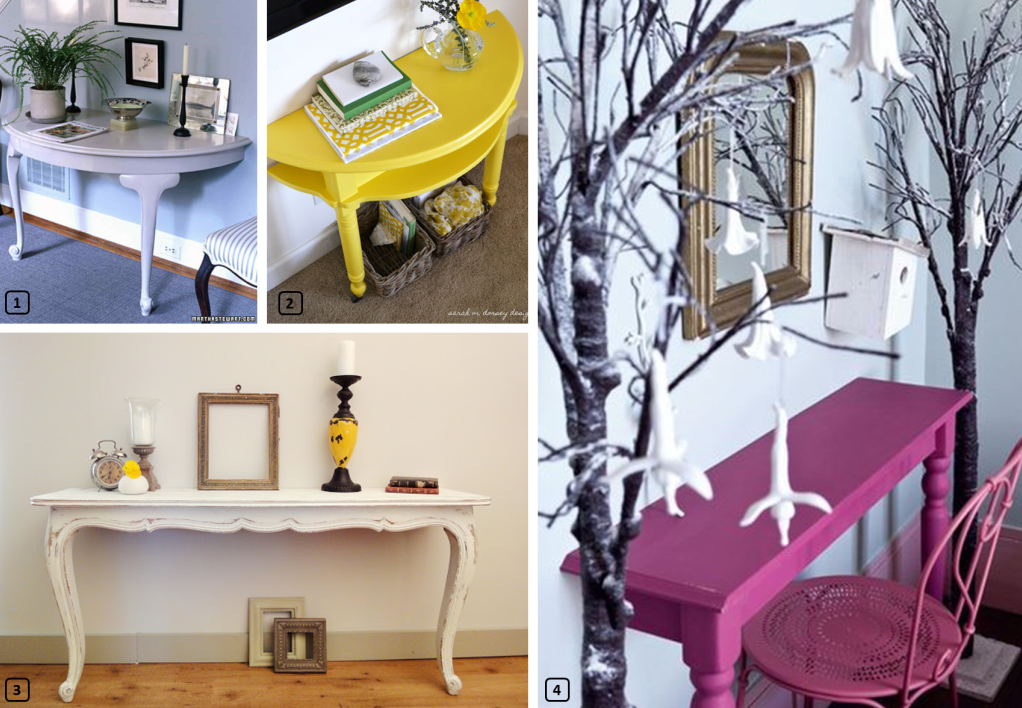
Ingenious DIY ideas
Do you have an old table lying around and no idea what to do with it? Definitely don’t throw it away, instead turn it into a console. You can, as long as you like tinkering, create your own piece of furniture that will prove extremely practical in your rental. Install it, for example, in the entrance hall as a place for people to empty their pockets (keys, wallets etc.). Or mount it in the living room as a display surface for a beautiful lamp, or even still in a bedroom to serve as a dressing table. Here are the steps for turning an old table into a low-budget console…
Step 1: Prepare the base
Clean the table with a multi-purpose home cleaner, such as St Marc. Then rinse and dry off.
Step 2: Cut up the table
Draw a line across the top of the table that will determine the depth of the console. Check to make sure there are no metal bits beneath the cut line, like brackets for example. Using a circular electric saw, cut the table along the drawn line. Next, using medium grained sandpaper, sand along the saw line to remove splinters. Also, sand the feet and top of the table in order to remove as much of the old paint/varnish as possible. Dust off.
Step 3: Prepare the mounting
Cut a rectangular piece of wood to the length of the table’s sawed edge; this will serve as the support (bracket) to fix the console to your wall. Pierce holes at equal distances along the sawed edge. Measure the table height, position the bracket (rectangular length of wood) on the wall at the right height and with a pencil, mark the specific hole locations. Drill holes in the wall. If your wall is concrete, you will need to insert pegs or use an expansion screw for plasterboard walls.
Step 4: Paint
Apply a base-layer of paint (also called primer) to the console with a large paintbrush. Lightly sand with fine grained sandpaper and dust off again. Then apply two coats of paint (using a paint roller for the table top and a paintbrush for the legs), making sure to allow for drying time between each coat. Either paint the supporting bracket with the same colour as the console, or paint it to match your wall so that it’s camouflaged. You can then varnish the table for easy cleaning and scratch protection.
Step 5: Fixing the console to the wall
First, secure the bracket to the wall using the previously made holes. Then install the console and secure it to the bracket from below using screws. Be careful to check the length of your screws, making sure that they don’t pierce the top of the table.
Voila! Your console is finished, and you can now do it all again with the second half of your table!!
 1.Martha Stewart / 2.Sarah M Dorsey Design / 3.Remodelaholic / 4. Olivier Martin-Gambier