Ingenious DIY ideas
Is your rental’s bathtub showing signs of aging: scratches, tarnished enamel? Don’t rush to buy a new one; you can give your tub a facelift and at a much lower cost! Indeed, there are now specialized paints designed to renovate cast iron or steel models (Note: they don’t work on acrylic and PVC materials).

These paints have an epoxy resin base, which makes them resistant and ideal for bathtubs. Available in different colours, they don’t require undercoats and are easy to apply yourself. So don’t hesitate to DIY your tub’s makeover and revive its interior, restoring its shine. Also, consider changing the outer surface to bring a decorative and colourful touch to the bathroom. Since the drying time is rather long (usually about a week), plan the makeover during a down week when you’re sure to not have guests. To get the best results, it’s very important to follow the specific steps, here they are…
Steps for repainting the bathtub

Step 1: Prepare the base
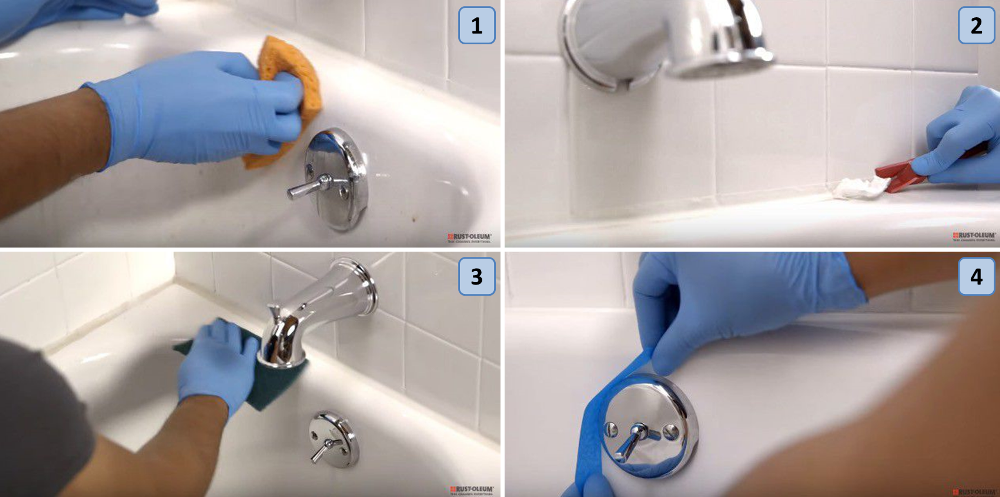
So that the paint adheres, it is paramount that the bathtub be perfectly clean. The first step is to remove any traces of limestone, grease and other residues. Use white vinegar, which is both efficient and environmentally friendly to wash the tub. If during the cleaning process you come across chips in the enamel you will need to fix them. But don’t worry, you can easily find epoxy sealants in DIY stores.
Step 2: Remove the seals
Since the paint will not adhere to rubber, it is recommended that you removed the sealant strip along the bathtub. Use a box cutter to help you with this task.
Step 3: Sand the tub
If the bath’s surface is too smooth, or too shiny, the paint will not adhere. In this case, use a very fine-grained sandpaper to lightly grate the surface of the tub and give texture for the paint to adhere to. Once you’ve done this though you must clean the surface with alcohol and then burn it off. It is of paramount importance that there is no dust left on the surface when the resin is applied.
Step 4: Determine the paint zone
Now it’s time to think about protecting the faucet and pipes from paint with masking tape. Use this adhesive to protect where the joint seals were between the tub and the tiles.

Step 5: Apply the paint
In most DIY shops you will find epoxy-based resin paint which can be directly applied to cast iron or enamel without needing an undercoat. However, if your current bathtub is darker than your chosen colour, it is still recommended that you use a basecoat before applying the final colour. Another thing to note is that the darker the colour of your tub the more visible calcium stains will be.
-Before painting, protect yourself with a pair of gloves, and possibly even an apron and facemask.
-Make sure to follow the instructions on the resin and try to avoid letting too much time pass between the paint being ready and actually applying it.
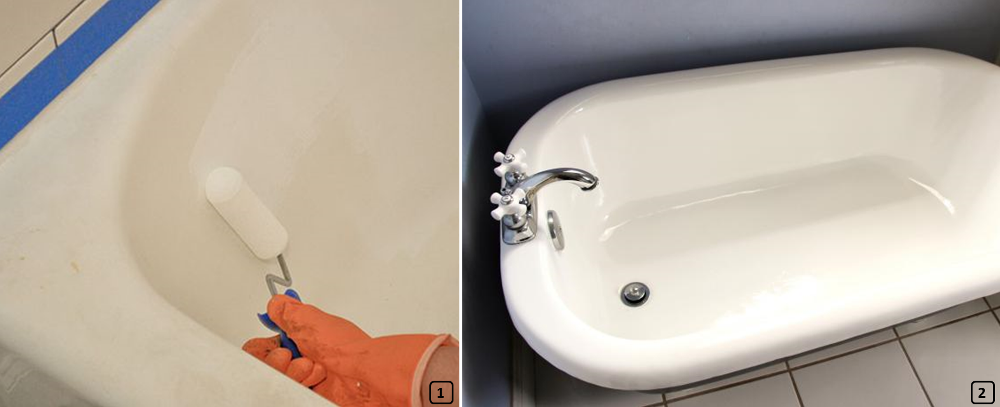
-To paint the inside and the edges of the bathtub, take a small lacquer roller and use a roller grid so as not to overload the roller with paint. When applying, make sure you stretch the resin well to avoid dripping. It is also important to avoid going over the same spot multiple times so as to assure a more uniform result. Use a paint brush to help you get to those hard to reach places such as around the tap. If you choose a metallic paint, using a paint gun will give you the best results.
-Observe the drying time to the minute before applying a second coat: usually 12hrs are suggested between coats.
-Once the last coat of paint is applied, it is essential to apply a layer of finishing resin. This clear resin will protect the paint from cleaning products in the future and will give the bathtub a glossy shine. Just like with the layer of paint, be consistent when applying the finishing coat and stretch the resin as much as possible while avoiding crossing over areas you’ve already covered.
-Now the resin needs to harden, it is imperative to respect its drying time... which is long! Usually there is a 7 day drying period. Make sure to check the instructions carefully.
Step 6: Redo the joints
The last step before running water in your new bathtub is re-applying silicone sealant between the tub and the wall tiles.
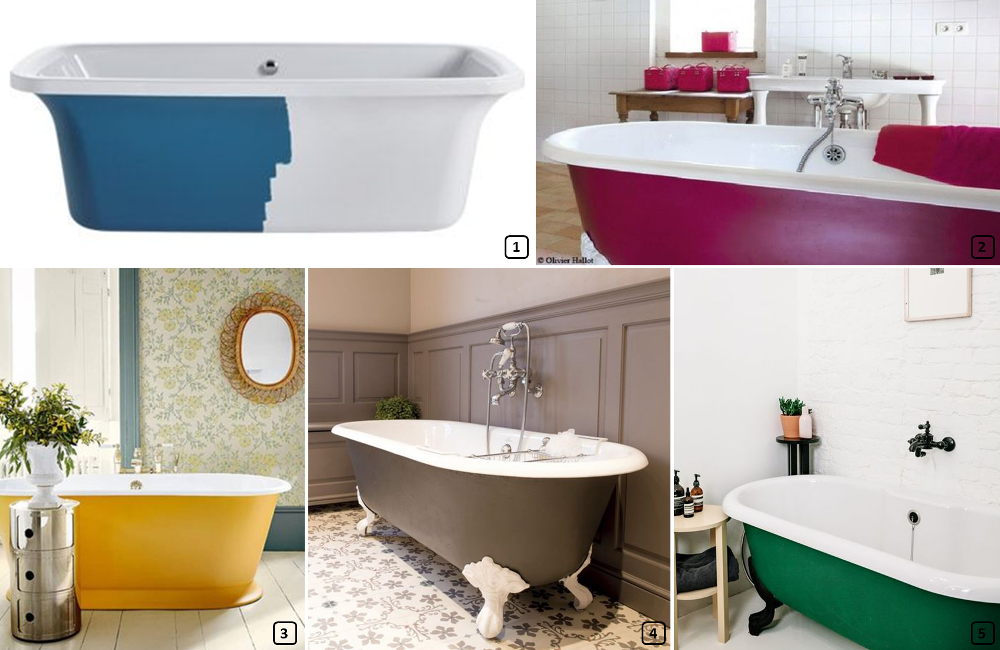
Repaint the bathtub’s exterior as well
To bring a pop of colour to your bathroom you can of course also paint the outer surface of the bathtub.
