Ingenious DIY ideas
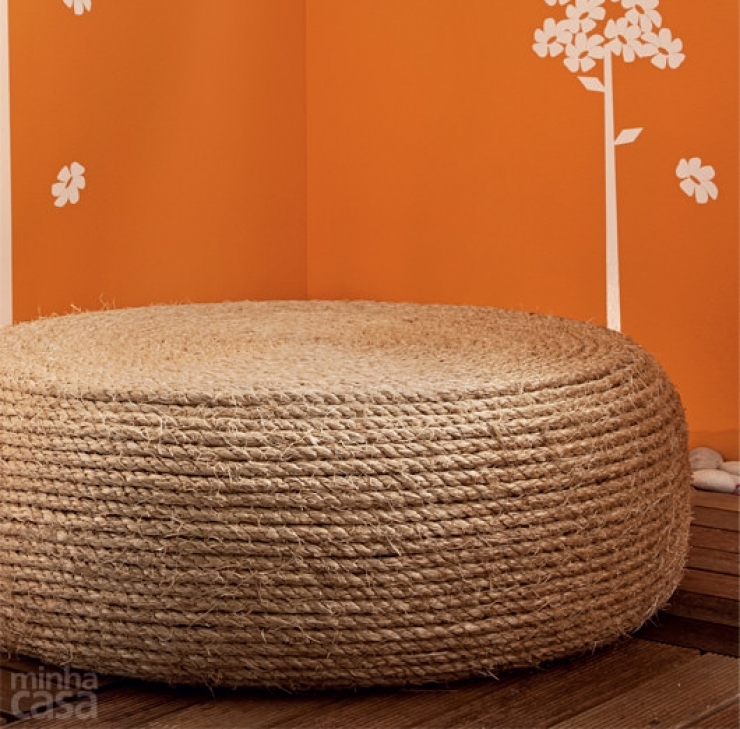
Making something yourself that’s both useful and aesthetically pleasing can be fun and incredibly satisfying. When on top of that you manage to do it for a nickel and a dime the satisfaction is that much more. This tutorial will show you how to transform an old tire into a lovely rope ottoman. Your new seat will easily find its place in the living room, bedroom, bathroom or garden of your rental. Its natural and trendy look allows it to harmonize seamlessly with any interior; bohemian, Scandinavian, shabby, ethnic and tropical decors among others. Step-by-step guide…
Materials needed: a tire, sufficient rope, a plank of plywood, glue gun refills, a pot of fixative varnish, screws
Tools: a jig saw, a drill, a screwdriver, a glue gun, a paint-brush
The Steps…
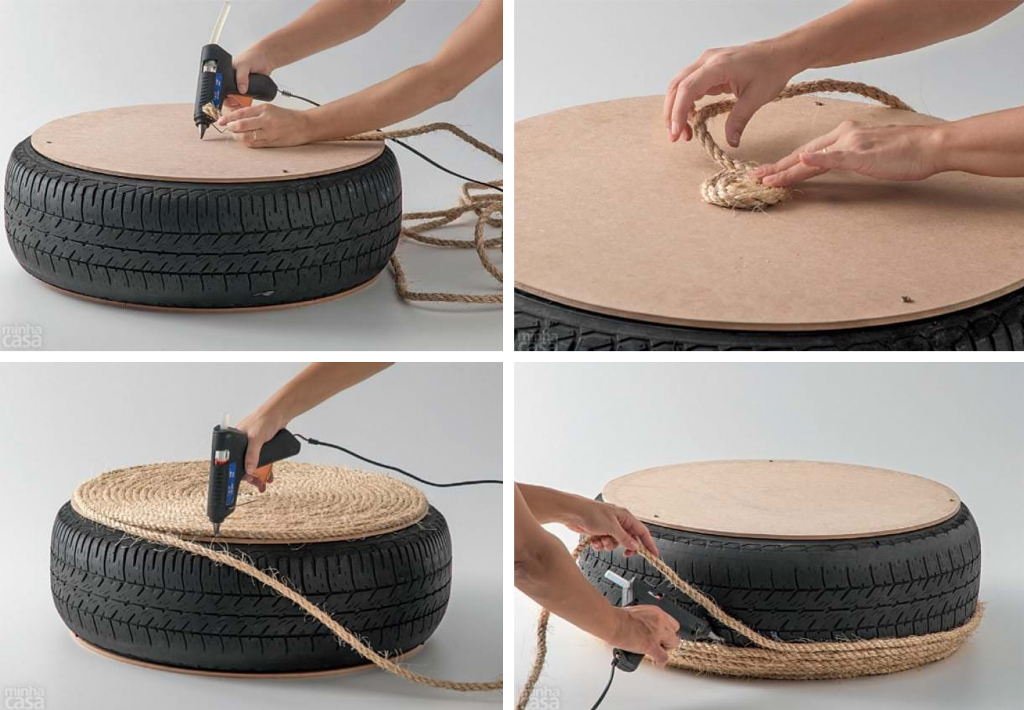
1. From the plywood, cut out two circles, a couple cms longer than the inner diameter of the tire (so that the screws go into the tire).
2. Drill four holes in each circle and screw it into the tire at on all 4 sides.
 Luis Gomes via Casa
3. Attach one end of the rope to the centre of the circle using the glue gun. Next, wind the cord in a spiral shape around your central point, applying glue to the surface of the board as you progress to ensure the rope is well secured to the wood.
4. Turn the tire over to facilitate winding the rope around the sides of the tire and continue the process.
 Luis Gomes via Casa
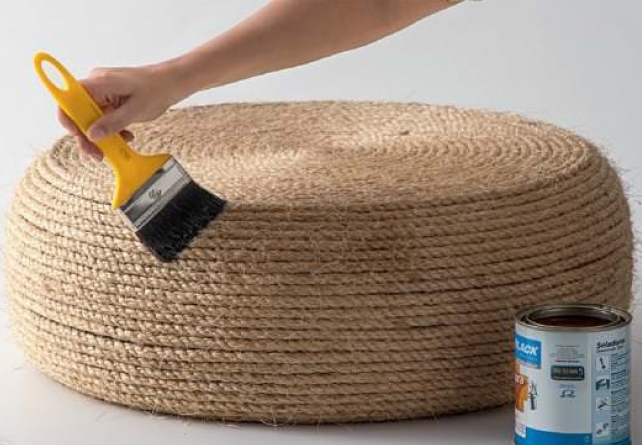
5. Allow the glue to dry, before adding two layers of fixative varnish over the entire ottoman to smooth out the rope fibres. Make sure to respect the waiting time between applications.
 Luis Gomes via Casa
It’s as simple as that!
 Luis Gomes via Casa
