Get inspired...
- Details
- DECORATION DECORATION
- ➤ INSPIRATION INSPIRATION
- Published: 08 February 2016 08 February 2016
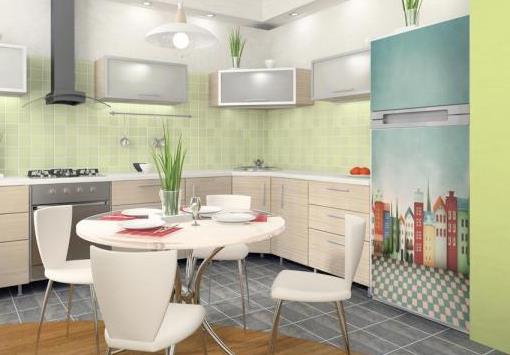
Is your fridge showing its age? Scratched up? Chipped? Are you fed up with its monotone white color? Try personalizing it to give it a bit of a makeover, make it look unique or have it tie in with the rest of your kitchen décor. These days there are several ways to customize your fridge on a small budget: adhesives (stickers and tapes), paint (color, stainless steel, slate) and magnetic sheets. Here’s a complete overview of DIY techniques to try at home…
Adhesives
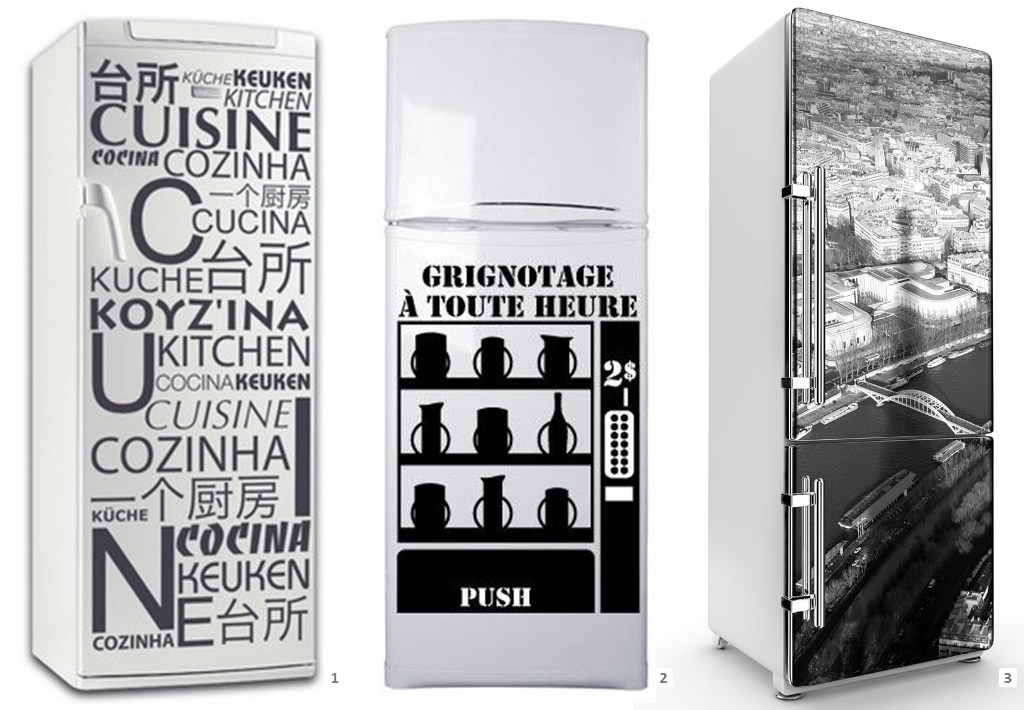
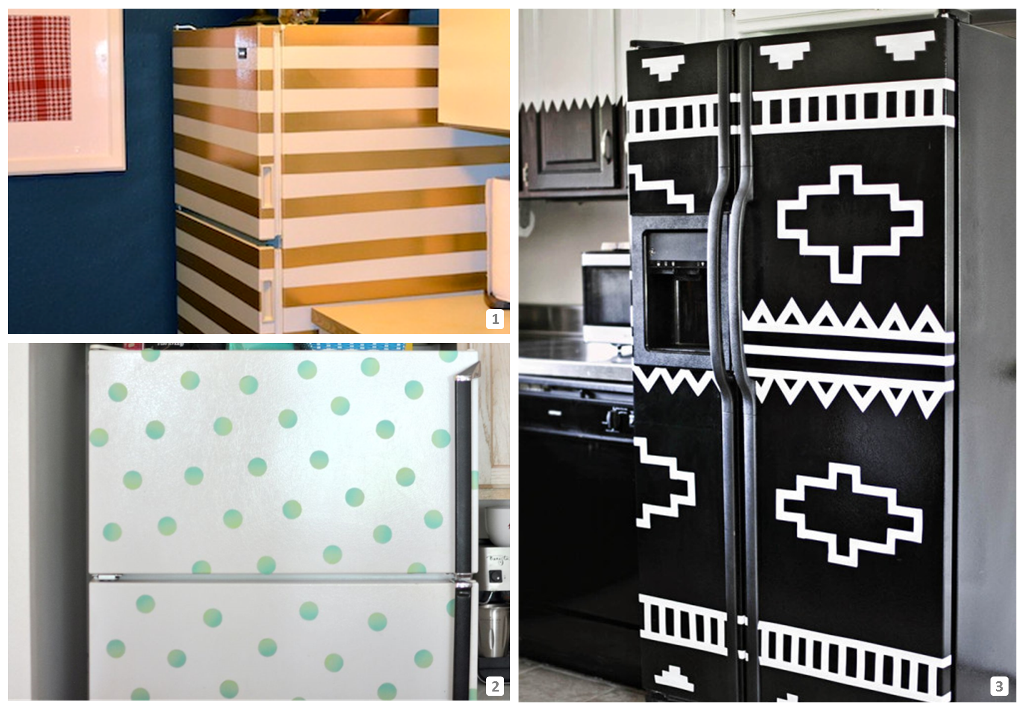
Stickers and masking tape are very practical tools to dress your fridge imaginatively. They take a few minutes to put on and can be removed in even less time, without leaving any traces. Nowadays, specialty websites and craft stores are in competition to come up with the most creative designs, offering tons of models in all shapes and colors: optical illusions, phrases, landscapes, fruits, characters… You’re sure to find one that suits your taste with these endless options!
Simple application: Clean the surface of your fridge and dry it off, and slowly remove the protective plastic from the sticker and place it from the center to the outer edges. Make sure to avoid air bubbles by using a spatula or a dry cloth. If you’re using masking tape, the process is just as easy: draw the desired shape on the vinyl roll, cut it out and just like with a sticker, remove the protective plastic and place it.
Paint
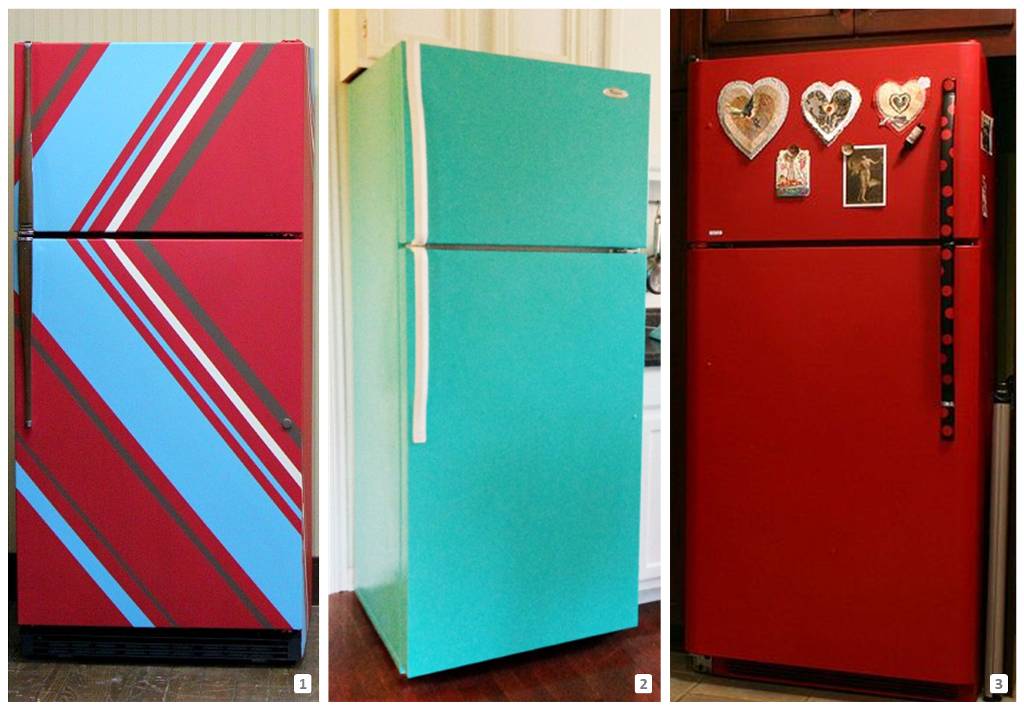
Another way for you to customize your fridge is to use specialty appliance paint, available in both spray and can forms. All colors are possible, even if you have to mix two colors to get your desired hue. You can also opt for a stainless steel or aluminum color, or even go for blackboard paint. Your fridge will then become a chalkboard where you can leave personalized messages for your Airbnb & co guests! Paints these days are very opaque, isolate metal and prevent rusting. They can be used without a base coat but remain difficult to apply.
You’ll have to take a few precautions… First of all, unplug your fridge, empty it and remove all the handles. Degrease the doors and sides and then use very thin sandpaper to remove the shiny film from the surface, making it easier for the paint to stick. Dust off the surfaces and protect the joints with tape. Don’t forget to cover your floor, too! You can then use the spray can (at about 30 cm from the fridge) or use a paint roller or paint brush (although this is more difficult to accomplish without leaving traces). Two to three coats should suffice. The personalization options are endless, you could paint it one uniform color or draw designs with the help of masking tape or stencils.
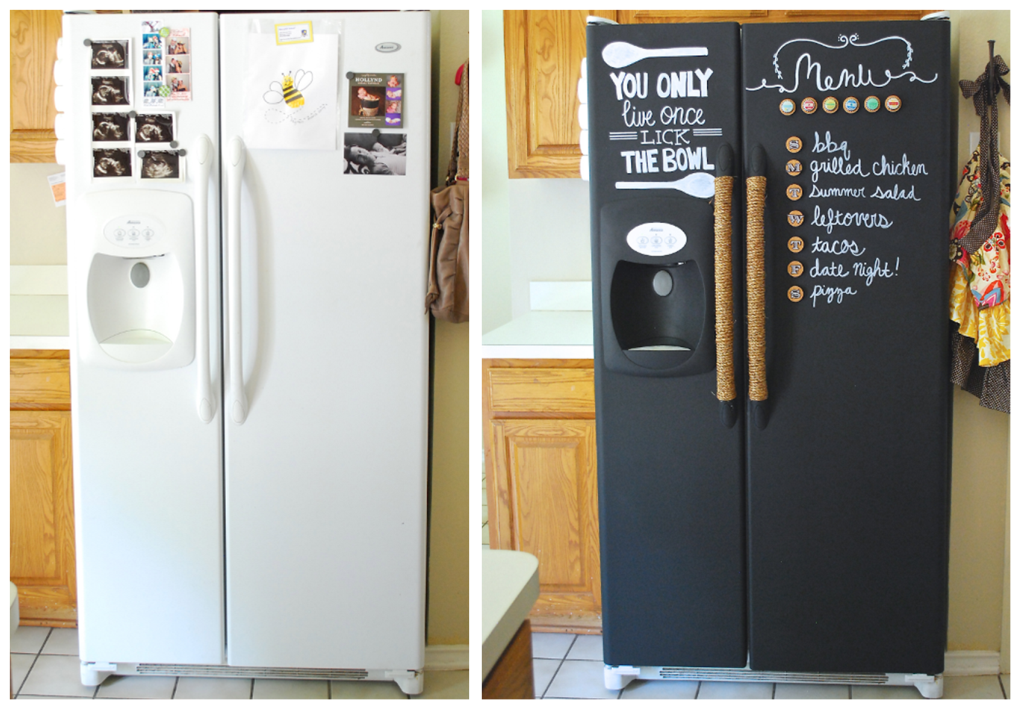 Blackboard paint, © The Kurtz Corner
Magnetic Sheets
Magnetic sheets are best suited for an easy and quick application process. XXL magnets are flexible and adjustable, making it easy for you to dress up and undress your fridge to your heart’s content! They’re also super easy to clean with a damp sponge.
When applying them, make sure the surface is smooth and dry and unroll the magnet from top to bottom. If it isn’t the proper dimensions, cut it with a craft knife and a ruler to make it fit your fridge. Some websites even offer customized magnetic sheets with your photos, allowing you to go all out with the personalization!
DISCOVER MORE IDEAS...
Follow bnbstaging's board Réfrigérateurs personnalisés/ DIY refrigerators on Pinterest.

 ©
©