Optimize your home
- Details
- PRACTICAL PRACTICAL
- ➤ SMART ORGANIZING SMART ORGANIZING
- Published: 13 December 2016 13 December 2016
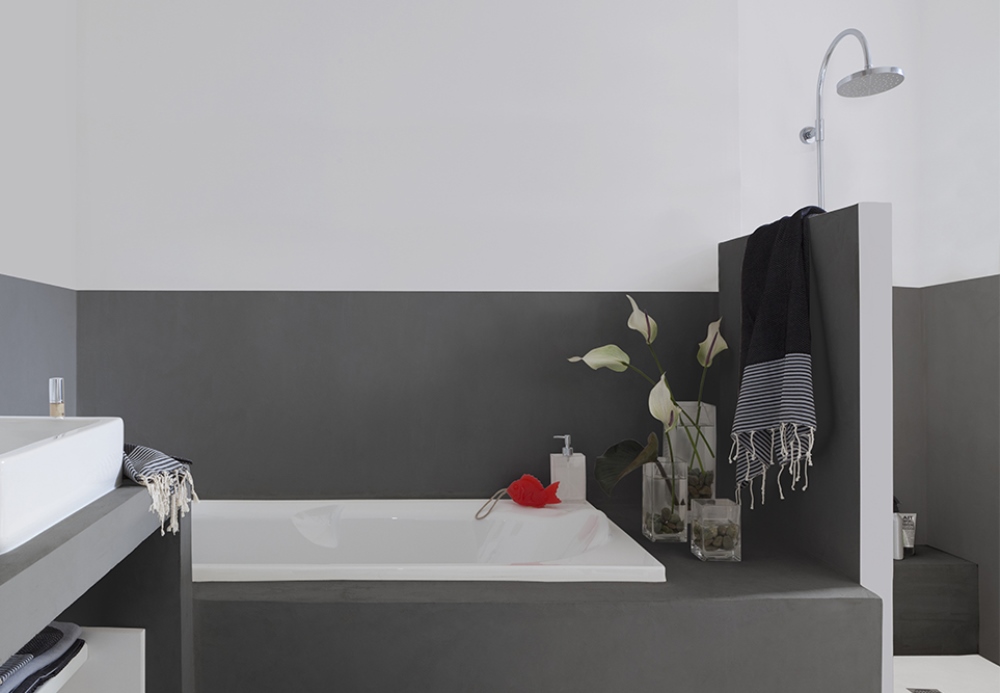
Does your rental’s bathroom feel a little dated? There’s no need to undertake extensively tedious or dusty renovations, you can revamp the bathroom with just a few strokes of paint. Specialized tile paint makes it possible to rejuvenate wall or floor tiles, easily and without breaking the bank. As always it is necessary to respect certain essential basics in order to get quality results. So here are 6 steps to follow in order to repaint your bathroom tiles... To your brushes!
 ©V33
©V33
Step 1: Ask yourself the right questions
In the bathroom, paint will be subjected to harsh tests: it will have to withstand moisture and detergents. It is therefore important, before going to the store, to have an idea in mind about what you expect from the paint in order to buy the right product or guide the seller who will advise you. Would you like to paint the floor and / or wall tiles? Do you want to leave the joints visible or cover them? Are there any cracked tiles? What colour would harmonize with the furniture? Do you prefer an oil based or acrylic paint? Would you like a matte or gloss finish? Do you need non-slip paint? How much will you need?...
Step 2: Choose a suitable paint
The priority here is to choose a paint that is suitable for wet rooms. It is true that this type of paint tends to cost more than regular all-purpose paint, but it will be more resistant and you will gain in the long term. Do not hesitate to pay the price for quality product and avoid low-end offers. As for the composition of the paint, you have the choice between an oil-based (glycero) or water-based (acrylic) product. Although oil-based paints are very resistant and often chosen in interior architecture, they contain solvents which can be harmful to the environment. Acrylic paint is therefore especially recommended if you’re doing the job yourself. It is almost odourless, of good quality and more importantly washable with water. An important asset when it comes to cleaning your painting material or any splashes. As far as the finish is concerned, opt for a satin or gloss finish which will give the illusion of tile rather than a mat finish which will reveal imperfections. Finally, some paints require the application of an undercoat in order for the paint to stick to the tile, so read the instructions on the labels.
Step 3: Opt for quality equipment
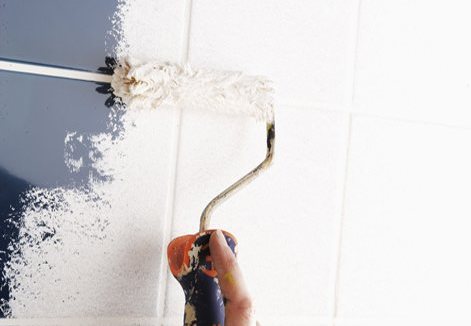
Brushes that lose their hair, rollers that fray ... then comes the nervous breakdown when trying to repair the irregularities. This is why it is important, just like for the paint, to choose quality equipment. It will cost you more upfront but will avoid you wasting time and will last longer. If using a water-based paint, choose a synthetic bristle brush with a good density. On the other hand, for an oil-based paint, choose natural silk hair. Generally, a blue brush handle indicates use for an acrylic paint and a red handle for an oil painting. As for the roller, take a short-haired refill for smooth surfaces.
Step 4: Protect the building site
Prevention is better than cure. This adage is perfectly suited to painting. It is advisable to protect the site well to avoid spending hours scratching and washing afterwards. First, collect all the objects in the room, that is, toiletries and beauty accessories into a box. Then remove the wall shelves, towel rails, hooks, toilet paper roll holder, door handles and so on. To avoid losing the screws or having to spend excessive time sorting them afterwards, tape them directly to the removed device. Remove carpets and curtains, then, unplug electrical outlets and switches. In a second step, protect all the elements (mirrors, furniture, faucets, washbasin...) that are likely to receive paint splashes with a tailor-made plastic sheeting and large scotch. If you’re not repainting the floor, remember to protect it too.
Step 5: Prepare the work space
During renovations, we often want to finish before we even start! But it is important not to skip any steps if you want to achieve quality results. To ensure proper paint performance, it is essential to prepare the work space. This part is not very much fun, that is certain, but it is oh so necessary. The first thing is to break through the tiles’ varnish in order to allow the paint or the undercoat to better adhere to the tiles. To do this, take sandpaper and lightly sand the tiles. Next, remove any traces of mildew, dirt stains or dust on the surface to be painted. Use a cloth with an acetone or alcohol-based product, the use a stripping soap such as St Mark or another type of slightly abrasive detergent. Rinse with cold water and allow to dry. Lastly, remove any silicone joint seals as the paint will not adhere.
Step 6: Paint in good conditions
In cold and humid weather, the paint will be sticky and the drying time longer. In the heat, the paint will dry too quickly and this will have an impact on the quality of the film. Meteorological data must therefore be taken into account. Cut off the heating in the bathroom and work at a temperature between 15 and 20 ° C. If you are using oil-based paint, open the windows to ventilate the room, making sure that there is no draft coming in that might bring dust with it. As for the application of the paint itself, be methodical and attentive to the drying times between applications as indicated on the product labels. Also be aware that the first coat of paint should be fine and stretched. Do not overload the brush or roller as this may cause sagging. Once the painting is finished, wait at least 3 days before using the bathroom fully, and do not forget to re-seal the silicone to prevent leakage!

