Ingenious DIY ideas
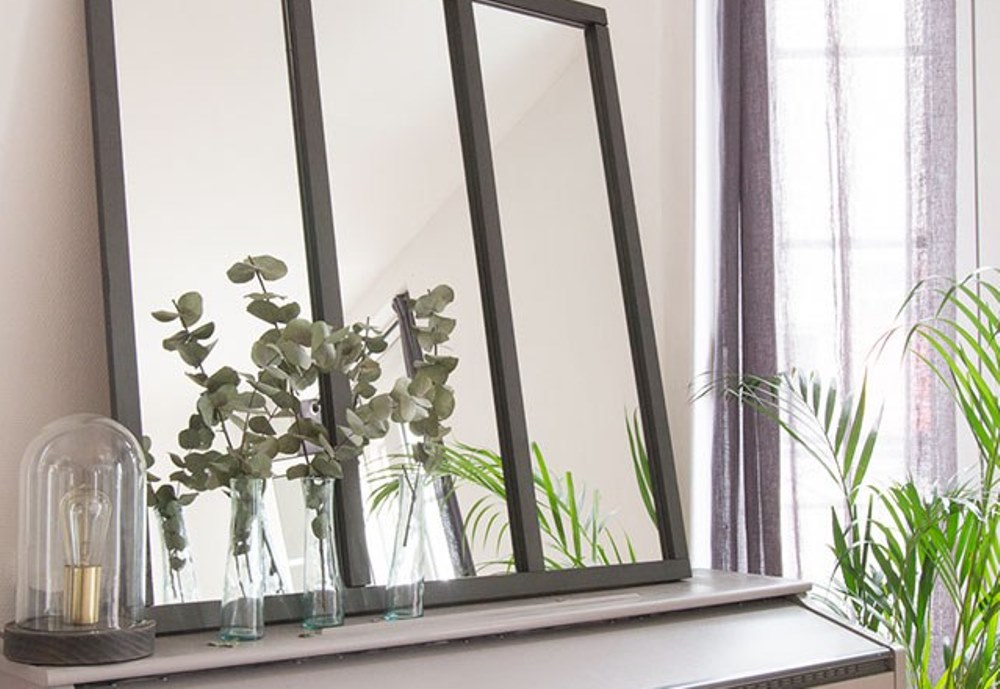
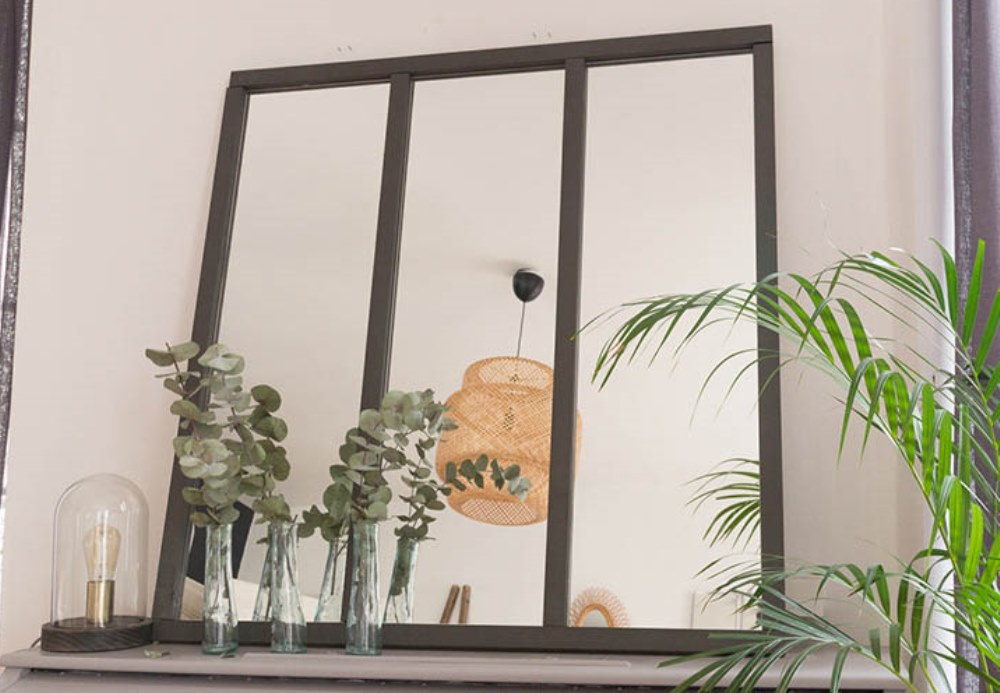
The skylight is an ever strong decorative element that brings an industrial touch to any interior. If you’re not ready to have a wall ripped out to install this feature, why not opt for a mirror that emulates the feel of a skylight. It will find its place in the living room, the entrance or the bedroom. It can be placed on the mantel, hung on the walls or even placed on the floor! For DIY enthusiasts, discover how to create this loft-style mirror yourself. A quick and low budget DIY project, just the way we like them! Come on, check it out...
 Une hirondelle dans les tiroirs
Step 1: The back board dimensions
Start by choosing 3 identical rectangular mirrors. Then choose the strips, pine or a medium timber depending on how much of the wood grain you’d like to keep. Next comes the calculations for determining the dimensions of the back board you will need to serve as support; you can also have it cut-to-measure in-store at the time of purchase.
Measure the width of the mirrors as well as the strips. The width of the board will be equal to 3 mirror widths and 4 strip widths. For example, with 30 cm mirrors and 3.5 cm strips, the back board should have a width of 104 cm. To calculate the height of the board, add 1 mirror length and 2 widths of cleats. If the mirrors have a height of 100 cm, then the medium board will have to be 107 cm.
Step 2: Cutting the strips
The second step is to cut the strips to the right dimensions. Saw 2 pieces of wood at the width of the board, that is to say 104 cm, and 4 others at the height of the mirror, i.e. 100 cm in our example. Don’t hesitate to draw pencil marks on the wood.
Step 3: Painting
Paint the wooden strips to the desired colour. This can be a black or an anthracite grey with metallic effect to reinforce the industrial spirit. However, be sure to leave a panel on each side of the strip unpainted.
Step 4: The gluing
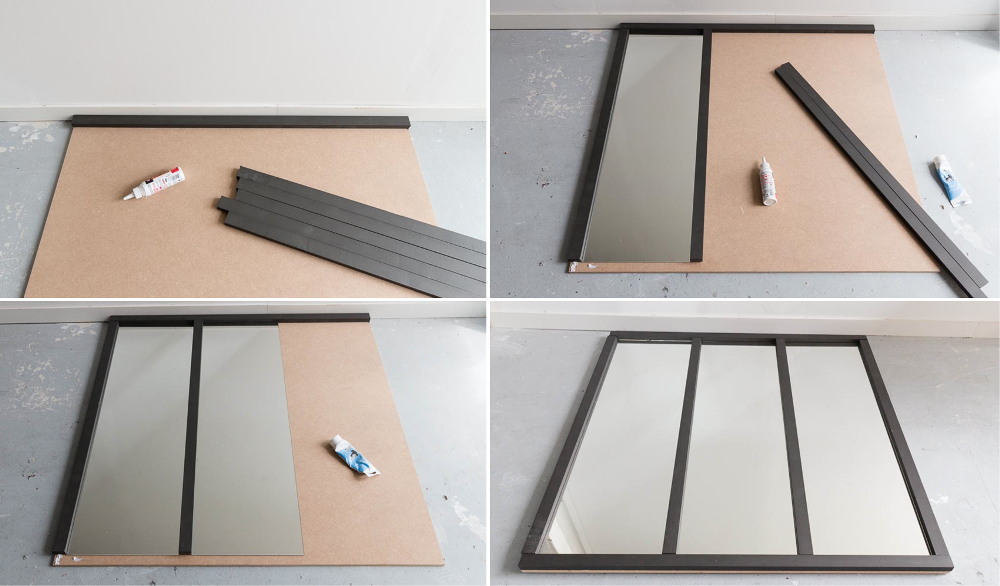
Using wood glue, stick the first 104 cm strip to the top of the back board along its width. Then position a 100 cm battens perpendicular to the left side. Beside the latter, stick one of the mirrors using special mirror glue, and then add a 100 cm cleat to its right, etc. The last piece of wood will finish the frame at the bottom.
Step 5: Drying
Make sure to fully adhere to the drying times once all the parts are assembled on the back board, it is usually a day. And don’t forget to use a method of fixing adapted to the weight of the mirror and the type of wall you plan on suspending it on.
That’s all there is to it!
 Une hirondelle dans les tiroirs

